Github.io 블로그 만들기
1. Repository 만들기
깃허브 접속 후, repository를 새로 생성
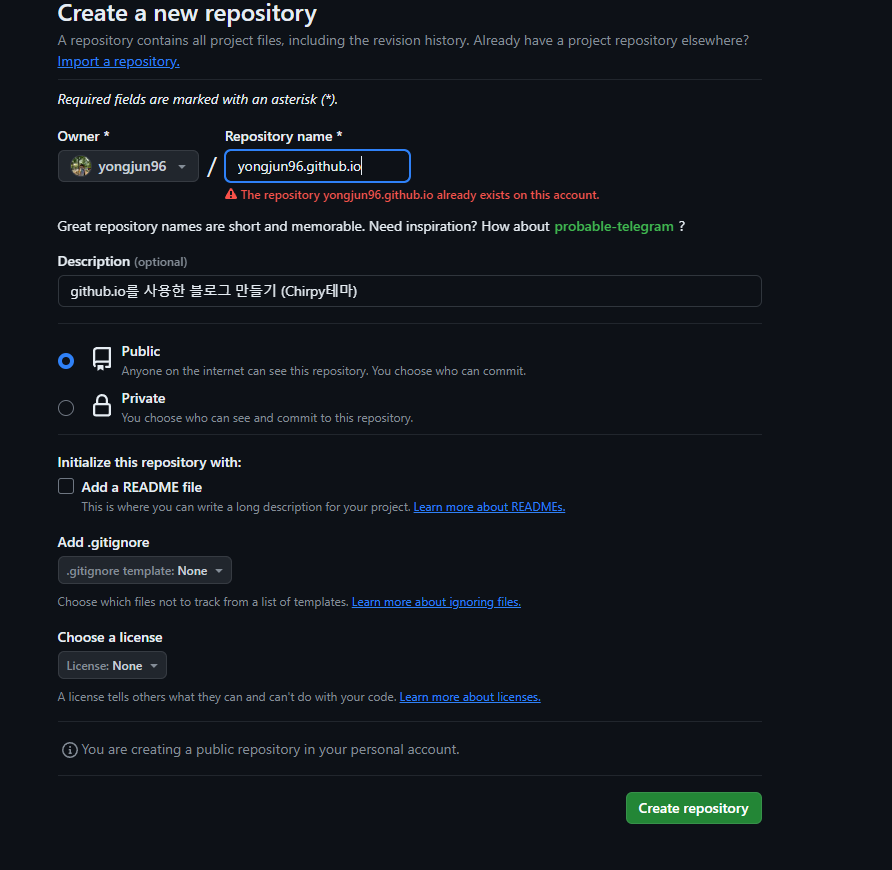
Repository name은 {github 계정}.github.io 형식으로 만들어 준다. Create repository 클릭
※ The repository yongjun96.github.io already exists on this account.
└ 현재 존재하는 repository라는 뜻. (이미 프로젝트를 만들고 글을 쓰고 있어서 그렇다…)
https://github.com/cotes2020/jekyll-theme-chirpy
해당 프로젝트를 clone하고 만들어 놓은 {github 계정}.github.io repository에 push한다!
2. 필요한 모듈 설치
루비 설치 : https://rubyinstaller.org/downloads
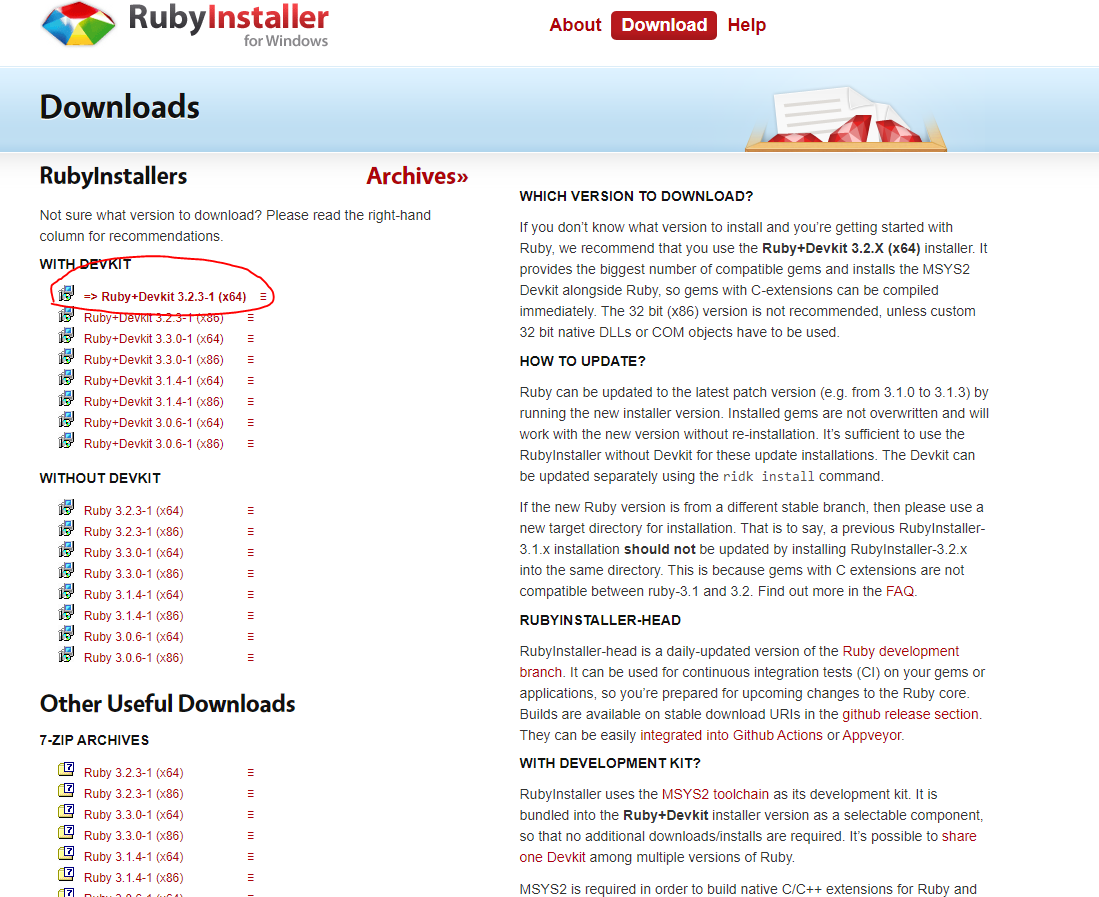
다운로드 받고 설치 (별도의 세팅 없음.)
다운이 끝나면 powerShell로 루비 버전을 확인
1
2
ruby --version
ruby 3.2.3 (2024-01-18 revision 52bb2ac0a6) [x64-mingw-ucrt]
Windows powerShell에서 프로젝트가 있는 경로 이동.
ex). C:\IdeaProjects\yongjun96.github.io
jekyll 실행을 위해 필요한 모듈을 설치
1
$ bundle
npm을 통해 node.js 모듈을 설치
1
npm install && npm run build
3. jekyll 실행
jekyll을 실행
1
jekyll serve
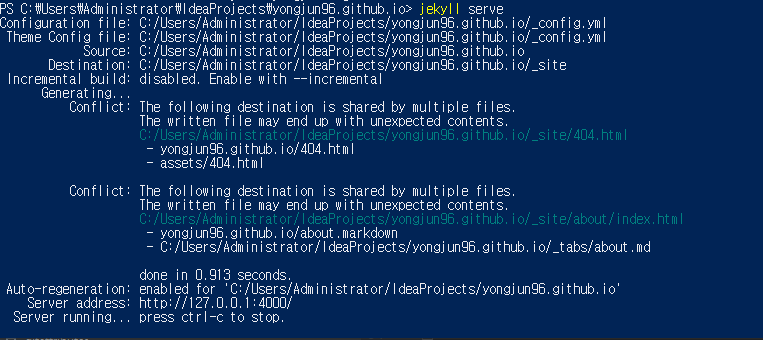
실행이 완료되면 주소로 접속
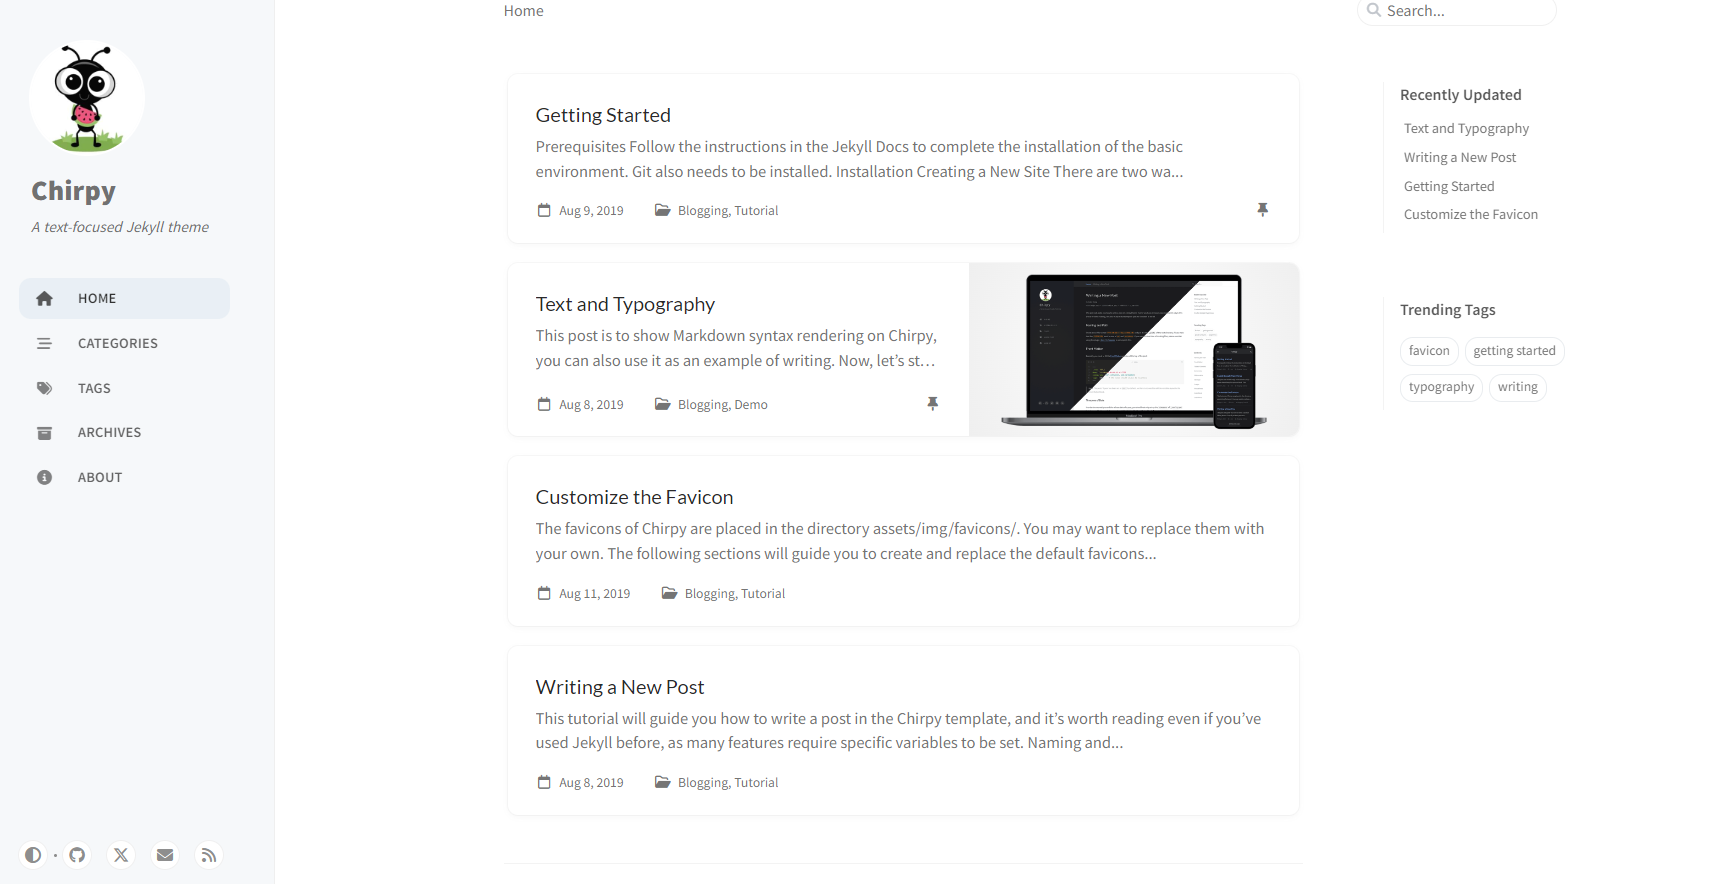
해당 페이지가 나오면 접속 성공
4.github 배포
github에 해당 프로젝트로 이동
Settings - Pages - Build and deployment 에서 소스를 GitHub Actions로 변경
Configure를 선택
상태 유지하고 Commit changes…를 선택 후 Commit changes 선택
프로젝트에서 .gitignore -> assets/js/dist 디렉토리 내 파일들의 Push가 무시되도록하는 설정을 주석처리
1
2
3
4
5
6
7
8
9
10
11
12
13
14
15
16
17
18
19
20
21
# Bundler cache
.bundle
vendor
Gemfile.lock

# Jekyll cache
.jekyll-cache
_site

# RubyGems
*.gem

# NPM dependencies
node_modules
package-lock.json

# IDE configurations
.idea

# Misc
# assets/js/dist
.github/workflows 에서 pages-deploy.yml.hook -> pages-deploy.yml (hook을 빼주고 yml파일로 만들어 준다.)
그 후, .github/workflows 경로에 있는 파일들은 전부 삭제
pages-deploy.yml에서 ruby-version 다운받은 루비 버전과 맞게 입력
1
2
3
4
5
      - name: Setup Ruby
        uses: ruby/setup-ruby@v1
        with:
          ruby-version: 3.2.3
          bundler-cache: true
branches도 확인해 준다. (main사용)
1
2
3
4
5
6
7
8
9
10
name: "Build and Deploy"
on:
  push:
    branches:
      - main
      - master
    paths-ignore:
      - .gitignore
      - README.md
      - LICENSE
프로젝트 -> Actions -> Build and Deploy 로 들어와 빌드
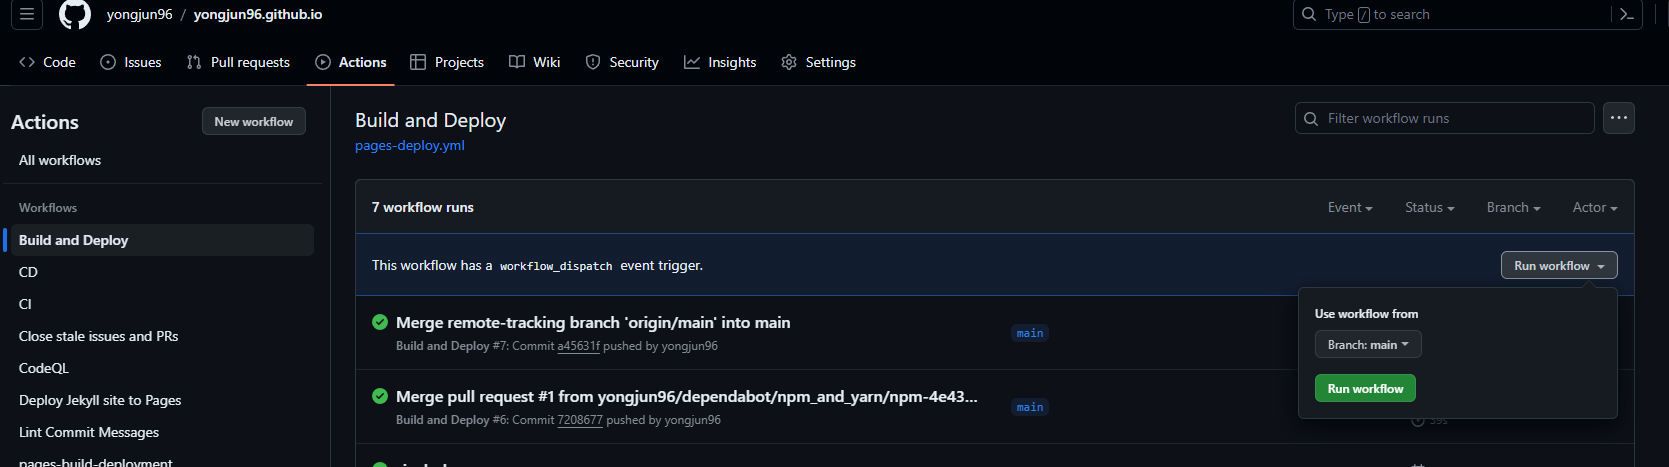
빌드가 완료되면 접속 확인